What it does
The Setup Wizard walks you through configuring your school's core information in six steps. At the end, your team can sign in and start using BrightPath. Steps can be completed in any order and saved as drafts; you can return to any step to revise.
Who uses it
- School Admin / Super Admin — access the full wizard from day one to set up the school's complete configuration before staff and parents log in.
Common tasks
Start the wizard
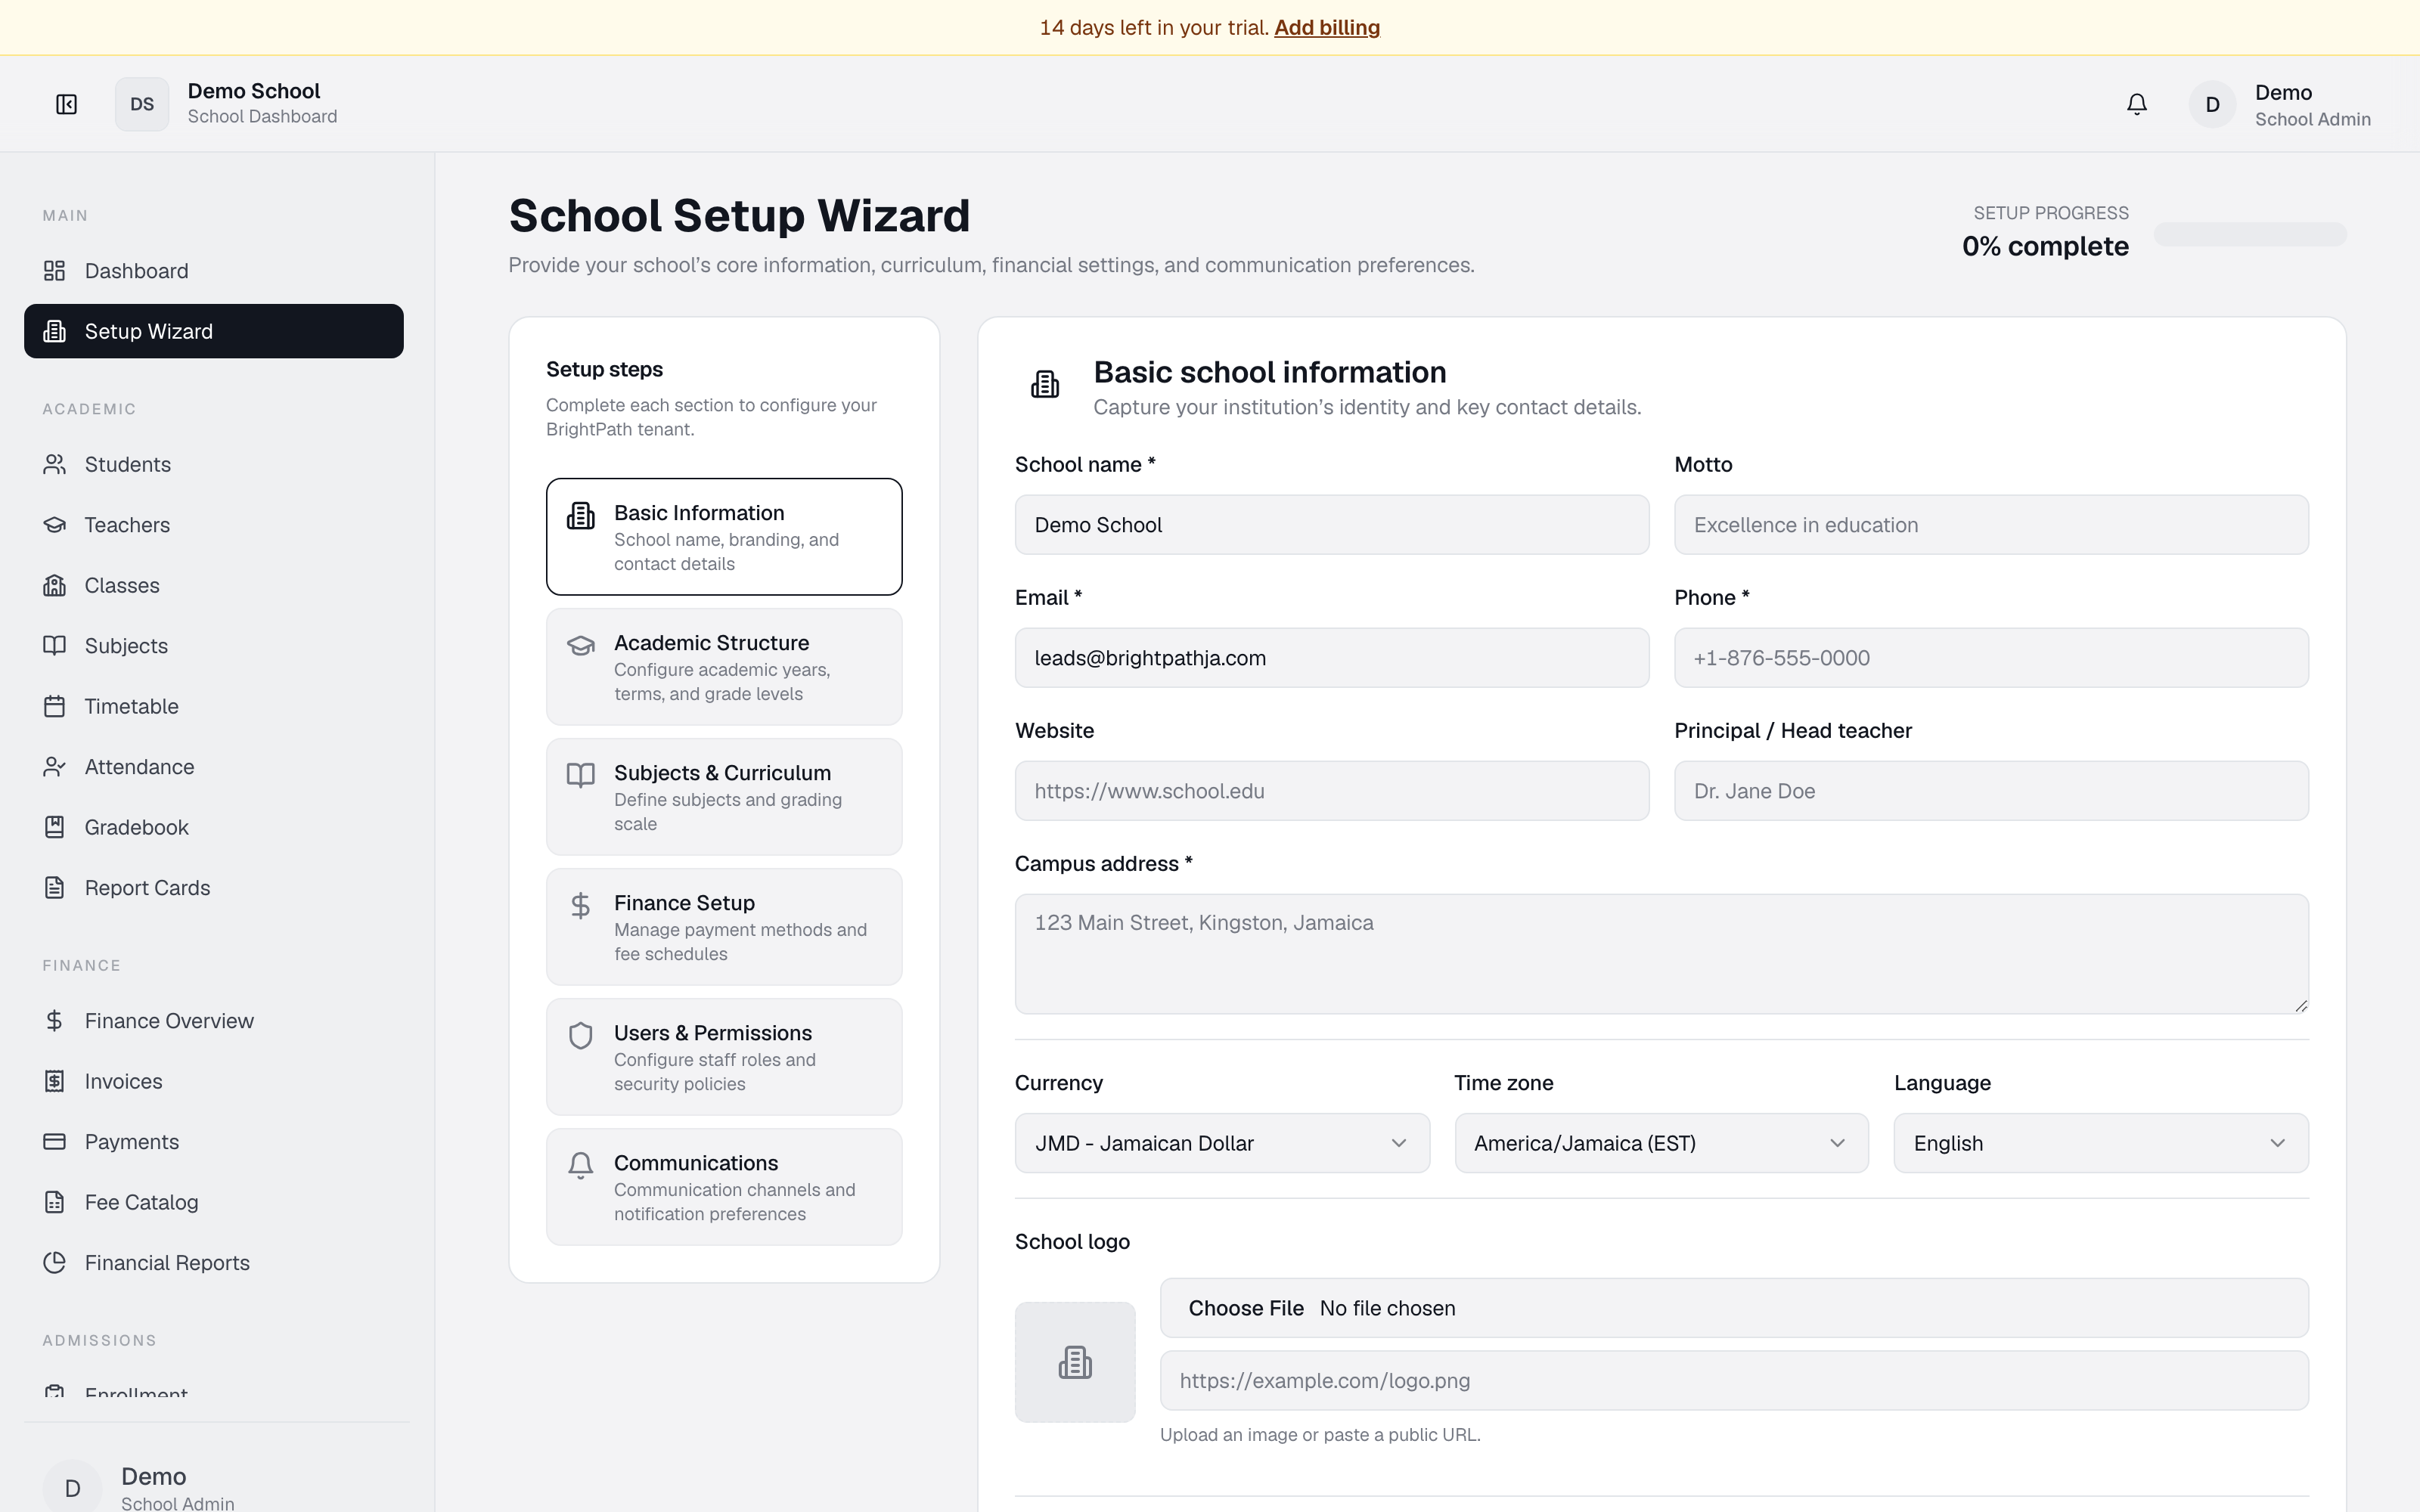
Open Setup Wizard in the left sidebar. A card appears showing six steps with a progress bar. Click any step to begin or jump to it.
Enter basic school information
In Basic Information, fill in:
- School name (required)
- Motto
- Email (required)
- Phone (required)
- Website
- Principal / Head teacher name
- Campus address (required) — paste the full street address
- Currency, Time zone, Language — default to JMD, Jamaica time, English
- School logo — upload an image or paste a public image URL
Click Save & Continue to move to the next step.
Configure academic structure
In Academic Structure:
- Set Academic year start and end dates (e.g. 2024-09-01 to 2025-08-31)
- Add Terms — click Add term and enter name, start date, end date. Remove with the trash icon
- Add Campuses (optional, multi-campus schools only). Mark one as Primary
- Add Grade levels — click Apply level template to seed common structures (Jamaica high school, Primary) or Add level to add one at a time. Drag the Order field to set sequence
Define subjects and grading
Switch to the Subjects & Curriculum step.
- Under Subjects, click Choose template to seed common subject lists (Jamaica CSEC, CAPE, IB) or Add subject to build a custom list. Set Name, Code, Department, and toggle Required and Core
- Under Grading scale, click Add band to define letter grades. Enter Grade (e.g. "A"), Min %, Max %, and GPA points. The system uses these to convert raw scores into report cards
Set up finance
In Finance Setup:
- Add Payment methods — click Add method, enter display name (Cash, Bank Transfer, Card), description, toggle Enabled
- Add Fees — click Add fee. Enter name (Tuition Fee, Exam Fee), amount in JMD, and Frequency (one-time, per term, per year, monthly, manual). Automated fees are invoiced automatically; manual fees must be added by hand
Configure users and security
In Users & Permissions:
- Click Add role to define staff roles. Pick from the dropdown or type a custom role name. Tick Enabled
- Set Permissions per role using grouped checkboxes (Academic, Finance, Operations, Communications, Reports)
- Toggle Require two-factor authentication to enforce 2FA on admin accounts
- Choose Password policy (Standard or Strict)
- Set Session timeout (15, 30, 60, or 120 minutes)
Enable communication channels
In Communications:
- Toggle Email on (required for receipts and verification codes)
- Toggle In-app messaging on (recommended for real-time announcements)
- SMS is coming soon and cannot be enabled yet
Click Complete Setup to finalize. You'll be redirected to the Dashboard and setup is locked for non-super-admin users afterwards.
Save progress without finishing
At any step, click Save draft to store your changes without moving forward. Return later to continue.
Resume setup after closing
If you close the wizard mid-way, your progress is saved. Click Setup Wizard again to pick up where you left off.
Troubleshooting
- "Setup already completed" — only super-admins can edit setup after completion. Contact your system owner.
- No grade level templates appear — the dropdown is populated with pre-built templates. Select one or add levels manually.
- Subject template adds duplicates — applying a template a second time appends subjects. Choose Blank slate to clear and start fresh.
Limits & known issues
- Setup must be completed before staff and students can log in.
- Once setup is marked complete, only super-admin users can revisit and edit it.
- Permission groups are preset; custom permission matrices are not editable in the UI.